Skip to content
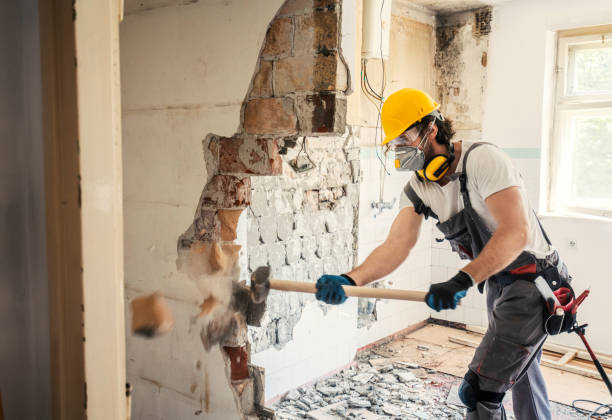
Sheetrock Repair Essentials for San Diego Residents and DIY Enthusiasts
Mastering the art of sheetrock repair is essential for Drywall Patch Guys and DIY enthusiasts. Whether addressing cracks, holes, or water damage, having the right skills can save time and money. This guide will walk you through the process, provide expert tips, and ensure your walls are restored to their original splendor.
I. Understanding Sheetrock: A Comprehensive Overview
Sheetrock, commonly used in construction, is prized for its ease of installation and finishing. Understanding its composition and benefits helps homeowners appreciate why proper repair is crucial. Preserving the structural integrity of sheetrock ensures both aesthetic appeal and long-term functionality.
II. Identifying Common Sheetrock Issues and Their Origins
Typical sheetrock problems include cracks, dents, holes, and water damage. Causes may range from settling, moisture infiltration, plumbing leaks, or accidental impacts. By identifying the root cause, you can prevent recurring issues and ensure effective repairs.
III. Essential Tools and Materials
Proper tools and materials are key. Essential items include utility knives, sandpaper, joint compound, drywall tape, and patching kits. For detailed recommendations on high-quality materials, check Family Handyman’s guide to drywall repair.
IV. Step-by-Step Sheetrock Repair Guide
- Assess the damage thoroughly.
- Prepare the area by cleaning and removing loose debris.
- Cut and fit the patch or backing as needed.
- Apply joint compound and tape seams.
- Sand surfaces smooth once dry.
- Prime and paint to match existing walls.
V. Addressing Specific Sheetrock Challenges
Cracks, large holes, and water-damaged areas require tailored approaches. Using proper reinforcement and layering joint compound ensures seamless blending with surrounding walls. Professionals like Drywall Patch Guys can assist with difficult repairs if needed.
VI. Steering Clear of Common Pitfalls
Frequent mistakes include insufficient sanding, inadequate drying times, and uneven application. Avoid these by following instructions carefully and allowing proper curing of joint compounds.
VII. Prioritizing Safety Measures
Always wear protective attire, ensure proper ventilation, and handle tools responsibly. Safety ensures a smooth repair process while protecting yourself and your surroundings.
VIII. FAQs
Q1: How long does sheetrock repair drying take?
A: Generally, allow 24–48 hours depending on compound thickness and humidity.
Q2: Can repaired areas be painted?
A: Yes, after drying and priming, repainting is straightforward and will match your existing walls.
Q3: Can large holes be repaired without replacing the whole sheet?
A: Absolutely, using a backing material and patching techniques ensures seamless results.
Q4: Is professional help necessary?
A: DIY repairs are possible for minor damage, but for extensive repairs, hiring professionals ensures long-lasting results.
Conclusion: Concluding Your Sheetrock Repair Odyssey
By following this guide, you can confidently tackle a variety of sheetrock repair projects. With practice, adherence to safety, and careful technique, your walls will regain their original beauty and strength. For complex issues, consider consulting professionals to ensure flawless results.